Visual Scripting to Make Cool Stuff
I love visual scripting. It's a great way to add more life to your environments and to make your life easier. There's so many ways to automate your workflow and create assets that you can change directly in your game engine, making your workflow faster and more flexible.
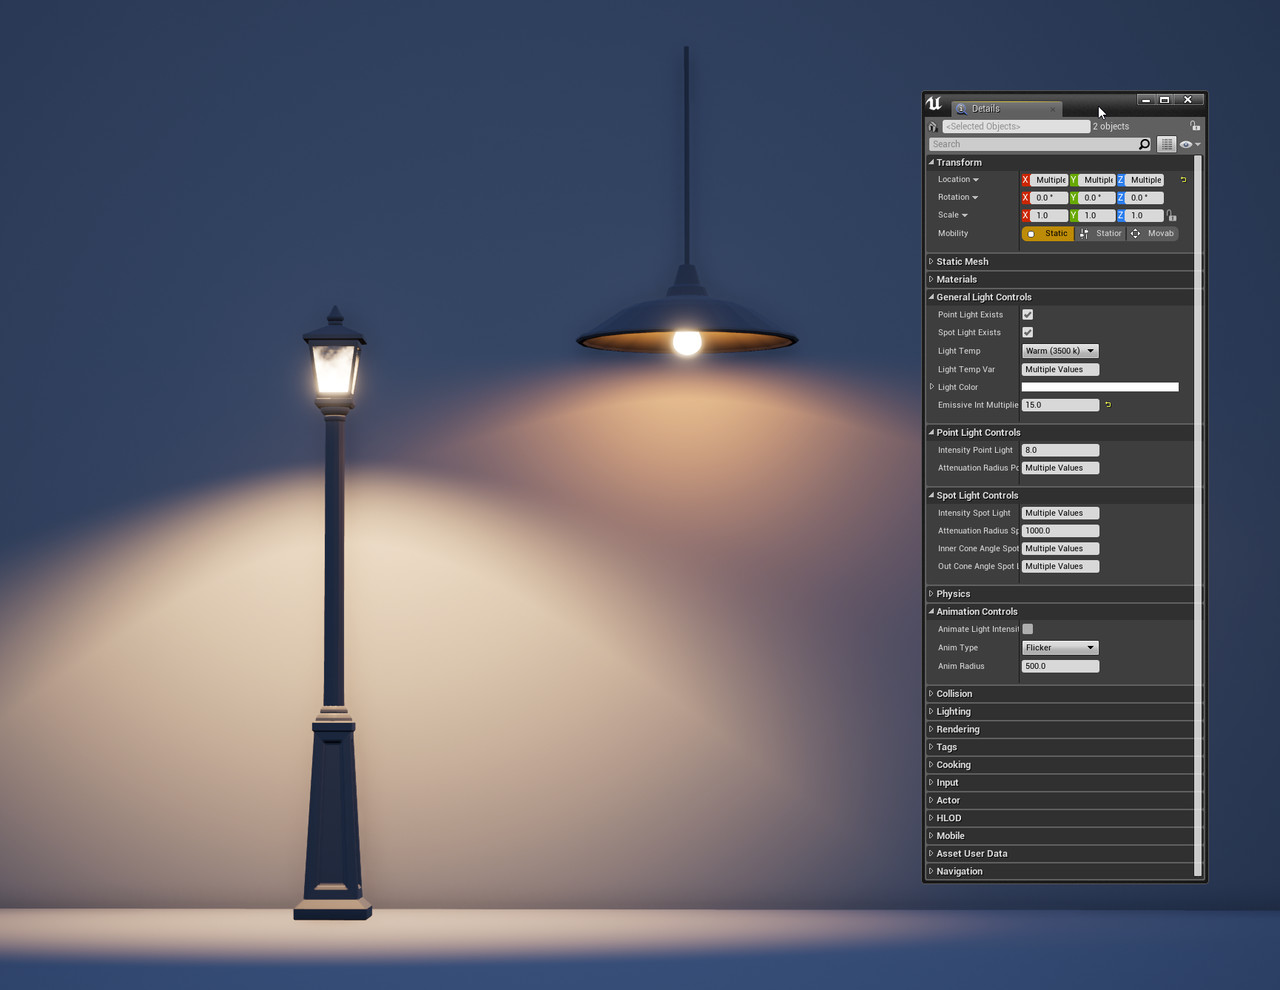
Below I talk about one way to use visual scripting in Unreal Engine to make a light fixture asset with some cool functionality and animations. I've also made this asset available here: https://www.artstation.com/samanthabean/store But really, I'd recommend building something like this from scratch and really learning visual scripting (if you don't already know it).
In Unreal Engine, you use Blueprints for visual / node-based scripting. One of the ways I like to use blueprints in my work if for light fixtures. I do lighting and environment art, and almost every time that I add a light to a scene I have to add a prop along with it to make that light make sense, but I'm lazy and I don't want to have to do this. I want it to happen automatically. Note: for this post I will use 'light' to always refer to a point light, spot light, or area light. If I'm referring to a prop/mesh I will use the word 'prop' or 'light-fixture'.
The simplest thing I can do to make my life easier is create a blueprint asset that includes a prop and a light, so then I don't have to drag in a copy of the prop and the light separately every time. We can do a lot more than this though.
Wait, back up a minute, what's a blueprint?
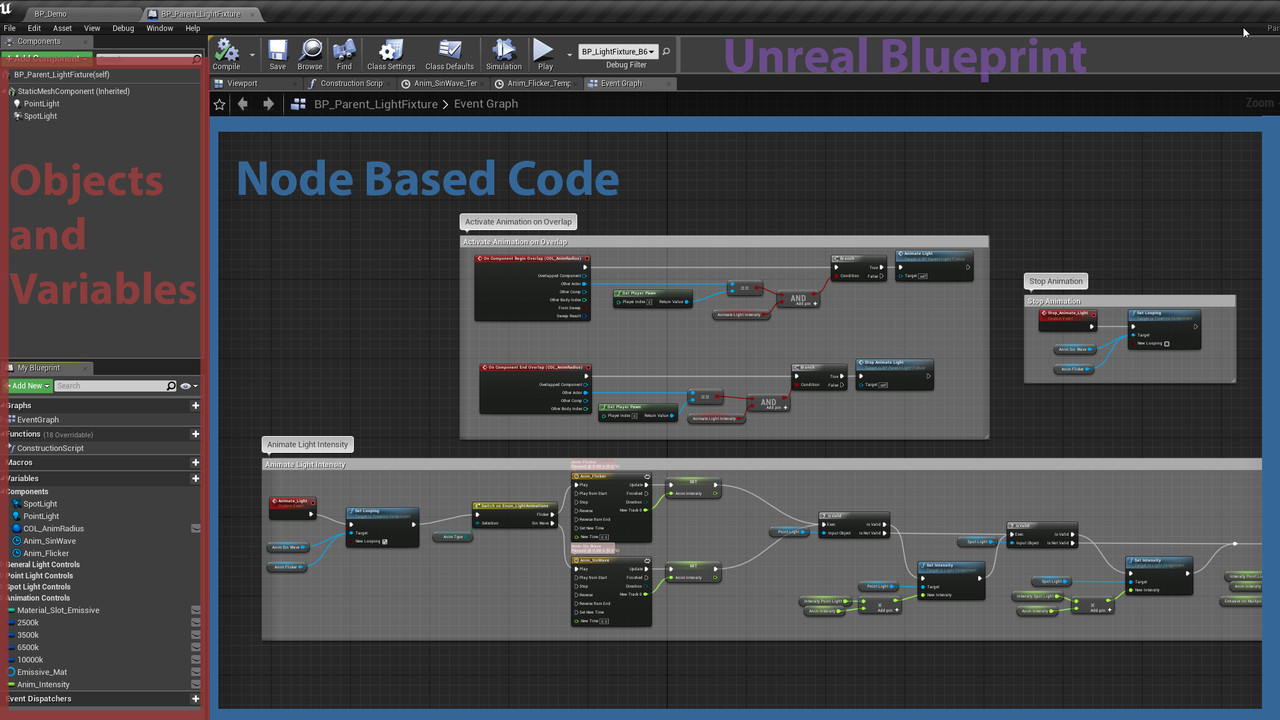
Blueprints in Unreal are collections of assets grouped together so you can drag them in and move them around all together (like geometry and a light). This is like a prefab in unity. Blueprints are also a type of visual scripting - which allows you to create visual code that can affect the assets you've collected (or other assets, it can do a lot of things really).
If you haven't worked with Node Based Scripting or Blueprints before, I recommended checking out Unreal Engine's Blueprint tutorials: https://academy.unrealengine.com/Class/blueprint-essential-concepts
Changing Attributes - Color
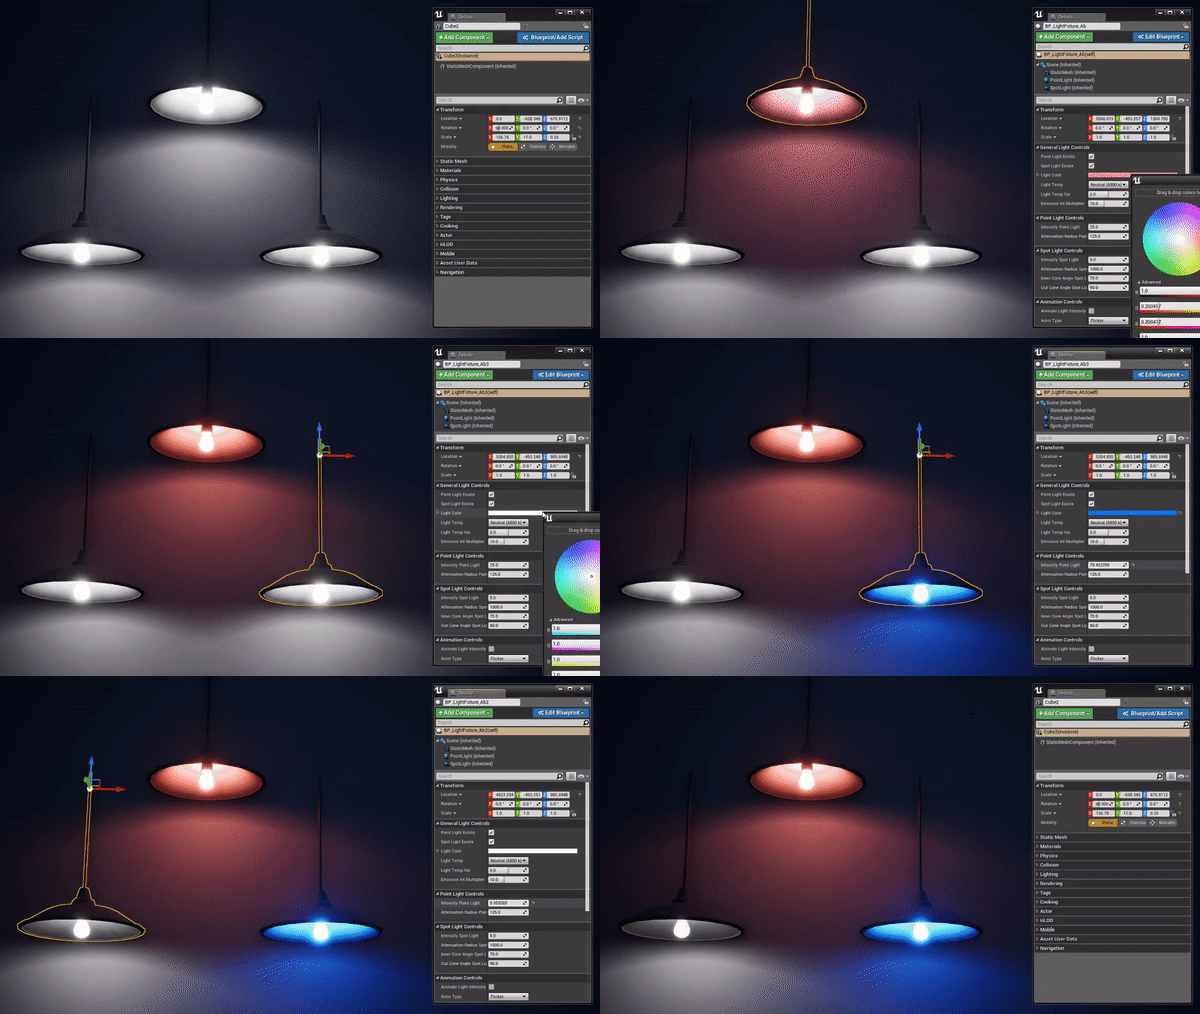
Back to making stuff - So I've made a blueprint that combines a spotlight, pointlight, and geo so I can easily move these assets together. What if I want to change the intensity or color of the light? If I change the light color, my prop's emissive texture will no longer match. I could go back and change my emissive material by hand every time I change my light . . . but that would suck. And, if the light-fixture is sometimes red and sometimes blue, suddenly I need two material instances, and if I decide to add green, yellow, and purple lights . . . you get the picture. That's a lot of assets to manage.
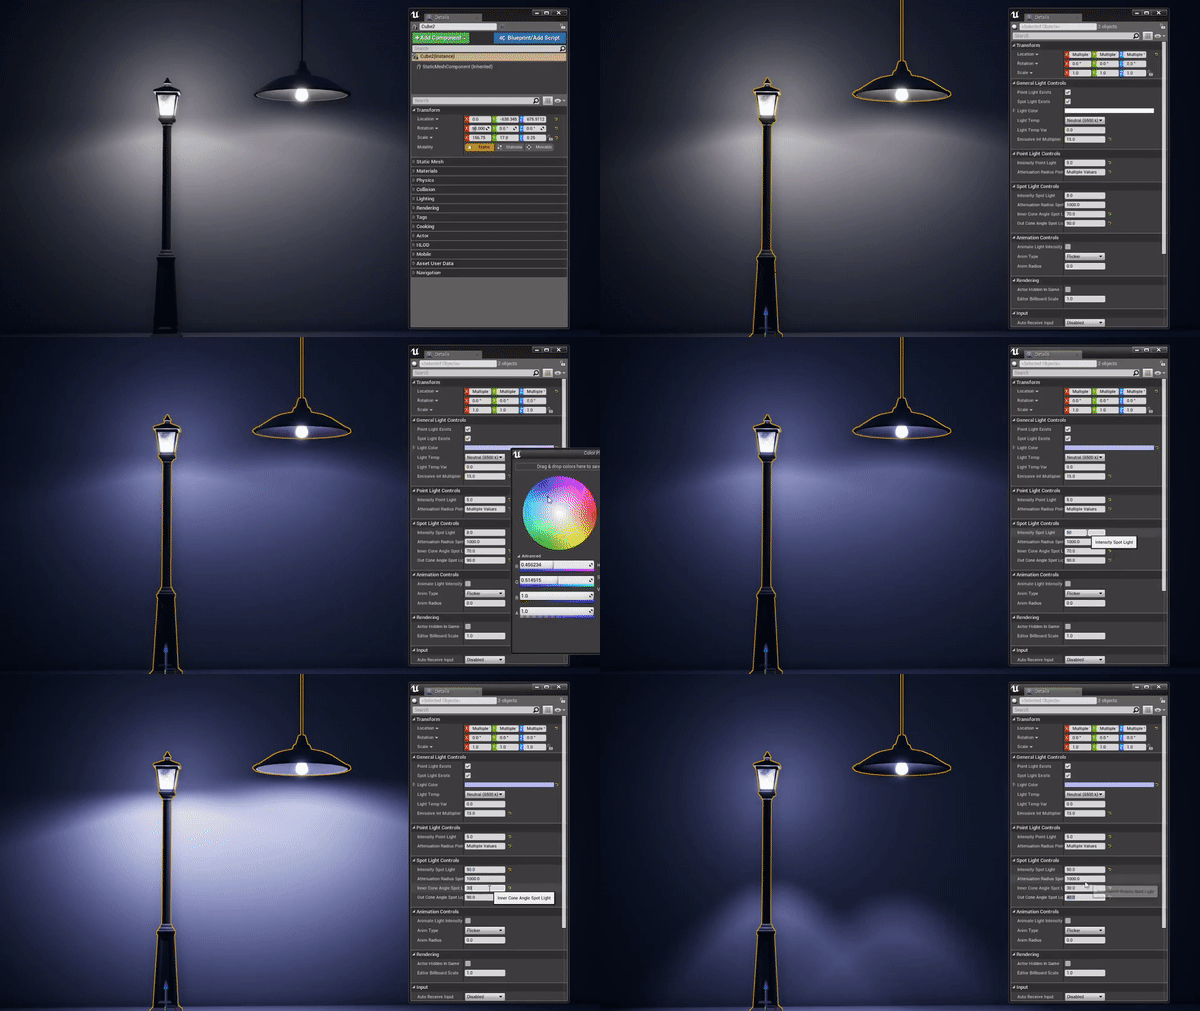
The emissive is exactly the same, regardless of light color/intensity
Here's where blueprint coding is really useful. I can control the color and intensity of my light, and the color and intensity of my emissive at the same time with a single attribute. That way they're always in sync.
GIF: Notice how the light and emissive color change simultaneously by adjusting a single color parameter.
Changing Attributes: Animating Intensity
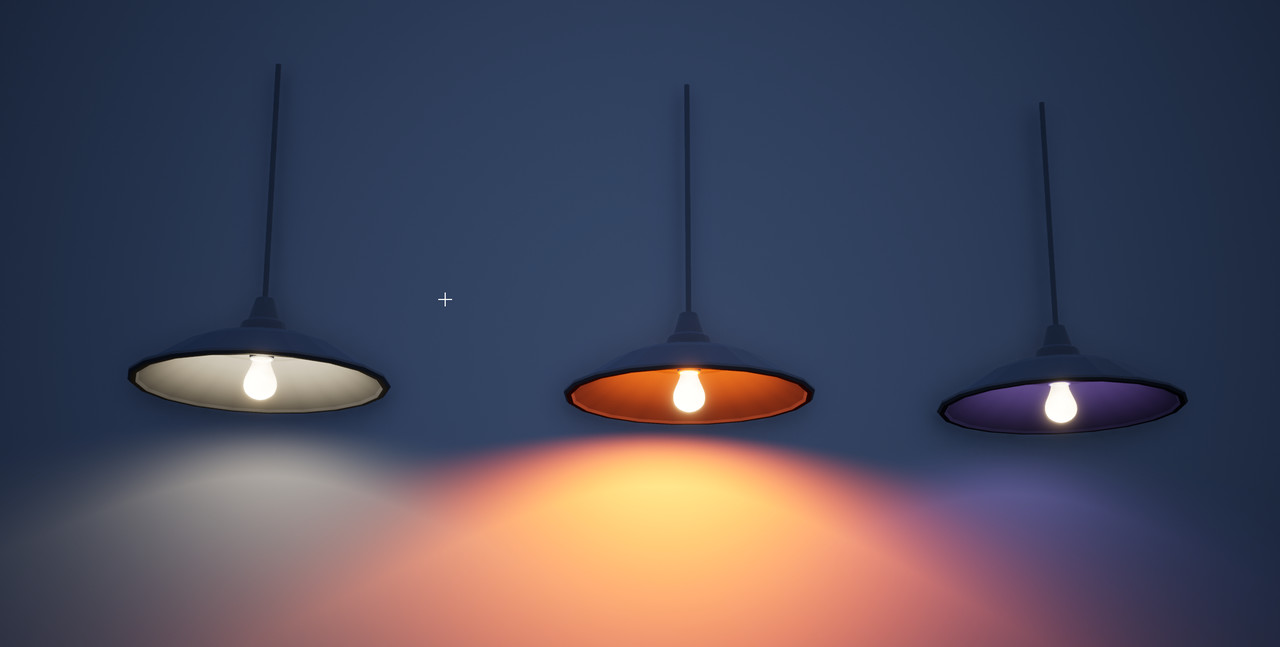
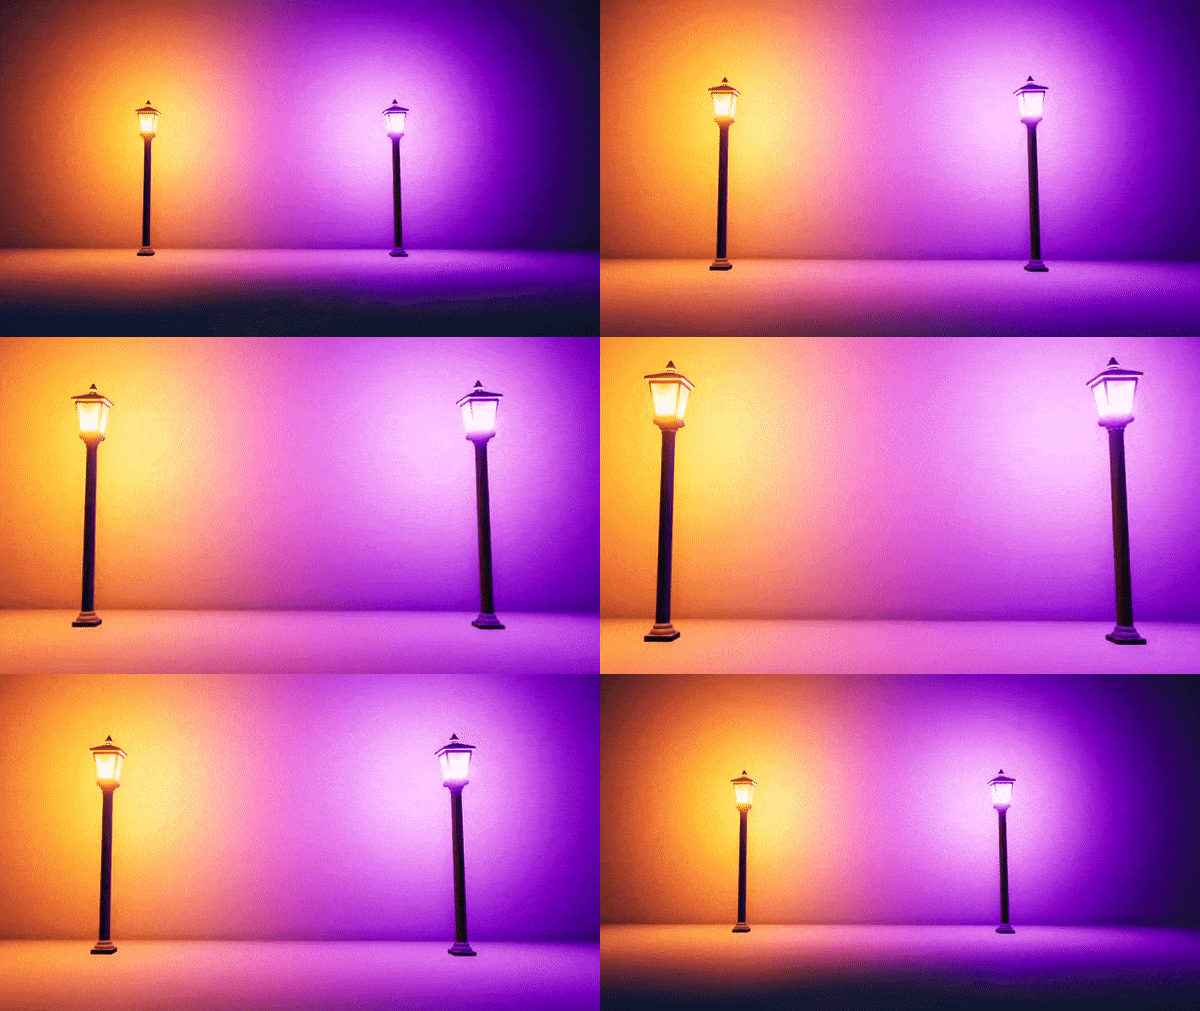
Blueprints can also be used to animate certain parameters. The most obvious thing to do with lights is create a light flicker. For this blueprint I've created two light animations - a flicker (Left) and a sin wave (Right). These animations range in value from 0-2, with 1 as my baseline, and they get multiplied with the lights intensity - so if my light intensity is 8 or 5000, it works consistently.
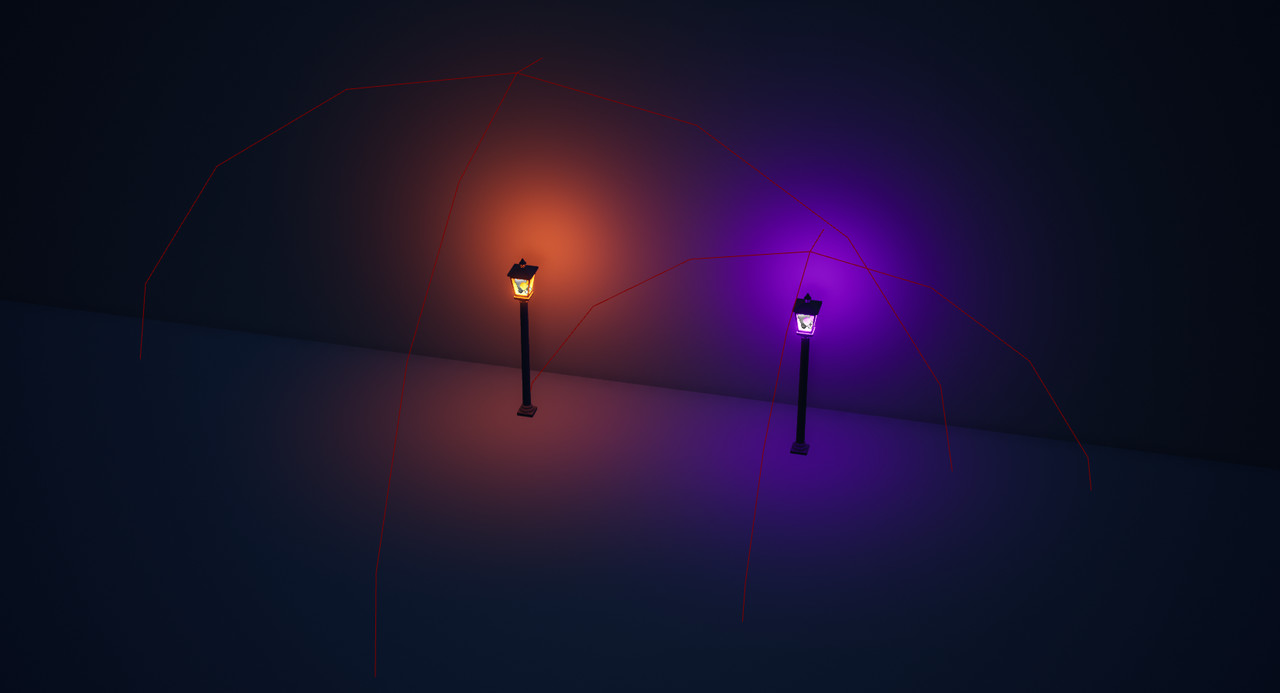
For optimization - the animations only trigger when the player is within a certain distance of the light-fixture blueprint. This distance can be adjusted per instance in editor, so you can easily increase or decrease the area of affect (the red, wireframe sphere is the area of affect of the animation). This is done by spawning a sphere collision volume when animations are enabled. That sphere triggers the animations when it overlaps with the player, and stops the animations when the player stops overlapping.
GIF: Animations turn on and off as the player moves into range.
The Red Wireframe sphere is a collision volume that detects when the player overlaps it and triggers the animation.
The orange light has a larger collision volume than the purple light and so activates when the player is further away.
The size of the sphere is set per instance.
Parent and Child Blueprints
These blueprint assets are created from the same Blueprint Parent. This is similar to working with a master material and material instances. The parent blueprint defines all the code and parameters. So if I decide to add more animations or change the way my blueprint works, I can make changes to the parent blueprint, and all the children will inherit these changes (this is a life saver!). This also means that every light-fixture that I have has the same parameters, the same set of animations, and works the same way, they just have different geometry and different materials. This keeps my workflow consistent and makes everything much easier to work with.
GIF: These two assets share the same parameters (from their parent blueprint) so I can select both and update them at the same time.
But I don't want to make a light-fixture that can change color and animate, what can I use Blueprints for?
Blueprints aren't really tied to a specific type of asset. It's just a way to tell the computer to do a set of instructions, so you can use it for all sorts of different things, in the same way that you can use code to do all kinds of things (since really blueprint is code that easier to work with for non-programmers). If you have multiple attributes that you would like to control with a single parameter, Blueprints could be a good option. If you want to automate some of your workflow (i.e. scattering props for set dressing, randomizing color or position, etc.) Blueprints could be good at that too. And if you want to create changes in your environments based on game play (i.e. the player smashes the ground and the props nearby shake) Blueprints can help with that too. You could make a full on game with blueprints if you wanted to. There's lots of possibilities, you just have to start exploring and I'm sure you'll find cool things you'd like to do.
Why are you using Unreal?
I use Unreal as an example because it's accessible, free, and it has great tutorials (so if you're interested in this it's easy for you to find resources to help you). Unity is another good option, I just personally prefer Unreal.
I actually first worked with visual scripting in a proprietary engine from Disney's Avalanche Game studio (now closed). I saw how impactful it was for our environment team to have access to code in this way. That's why I love engine's with this capability, it opened up a lot of possibilities for adding life and interactivity to our environments, without needing to bother our programs for everything.
The great thing is, if you know how to use visual scripting in one engine, it'll feel really familiar and easy to pick up if you move to another engine. If you've worked with Substance Designer before, the concept of visual, node-based workflows will probably already feel familiar to you.
For more information on Blueprints I recommend checking out Unreal's Tutorials:
https://academy.unrealengine.com/Class/blueprint-essential-concepts
If you want a jump start to making this kind of light blueprint, you can get a copy of it here:
https://www.artstation.com/samanthabean/store
Thanks for reading!
- Sam
