UE4 Blueprinting for Environment / Lighting Workflows

General / 13 November 2018

Visual Scripting to Make Cool Stuff

I love visual scripting. It's a great way to add more life to your environments and to make your life easier. There's so many ways to automate your workflow and create assets that you can change directly in your game engine, making your workflow faster and more flexible. 


Below I talk about one way to use visual scripting in Unreal Engine to make a light fixture asset with some cool functionality and animations. I've also made this asset available here: https://www.artstation.com/samanthabean/store  But really, I'd recommend building something like this from scratch and really learning visual scripting (if you don't already know it).


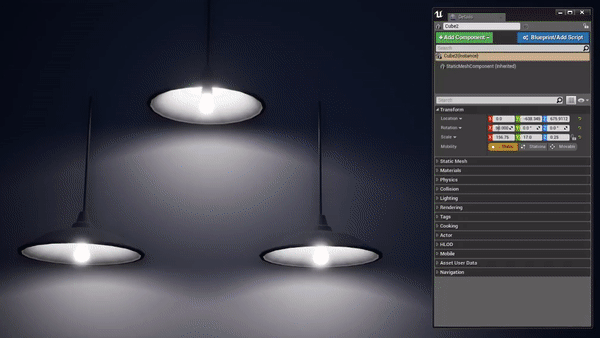
In Unreal Engine, you use Blueprints for visual / node-based scripting. One of the ways I like to use blueprints in my work if for light fixtures. I do lighting and environment art, and almost every time that I add a light to a scene I have to add a prop along with it to make that light make sense, but I'm lazy and I don't want to have to do this. I want it to happen automatically. Note: for this post I will use 'light' to always refer to a point light, spot light, or area light. If I'm referring to a prop/mesh I will use the word 'prop' or 'light-fixture'.


The simplest thing I can do to make my life easier is create a blueprint asset that includes a prop and a light, so then I don't have to drag in a copy of the prop and the light separately every time. We can do a lot more than this though.


Wait, back up a minute, what's a blueprint?

Blueprints in Unreal are collections of assets grouped together so you can drag them in and move them around all together (like geometry and a light). This is like a prefab in unity. Blueprints are also a type of visual scripting - which allows you to create visual code that can affect the assets you've collected (or other assets, it can do a lot of things really).


If you haven't worked with Node Based Scripting or Blueprints before, I recommended checking out Unreal Engine's Blueprint tutorials: https://academy.unrealengine.com/Class/blueprint-essential-concepts


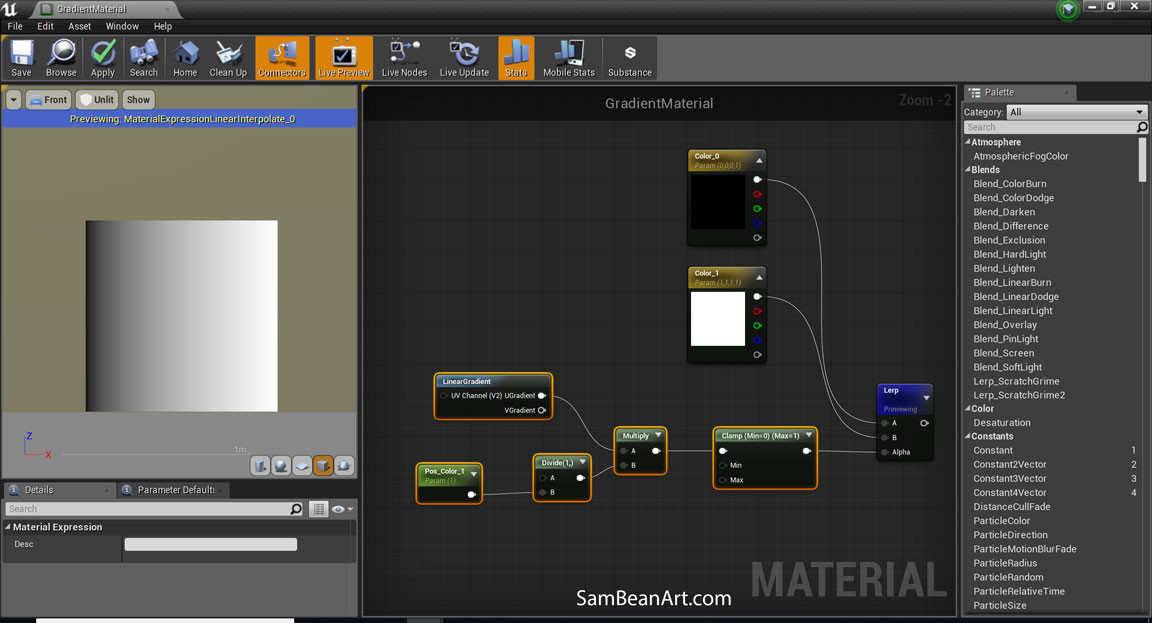
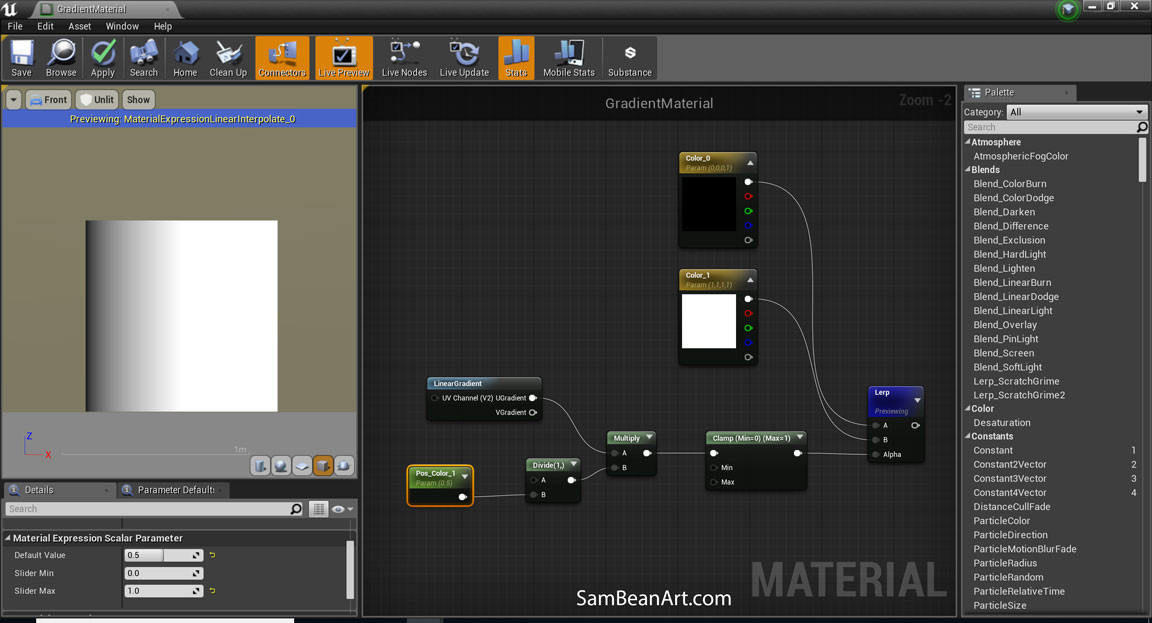
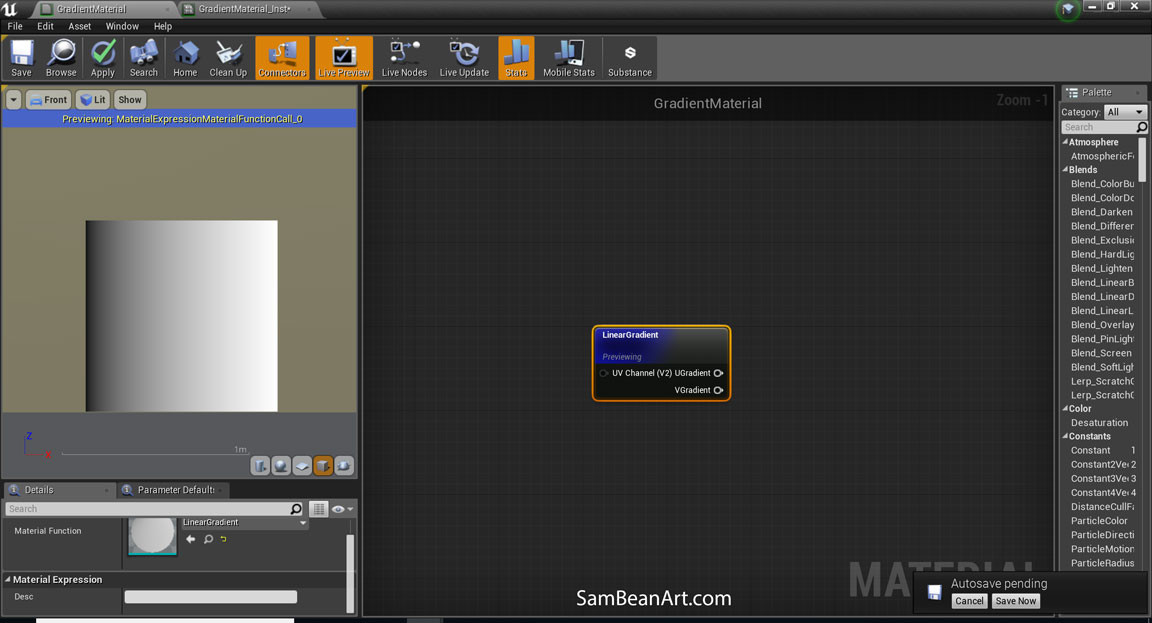
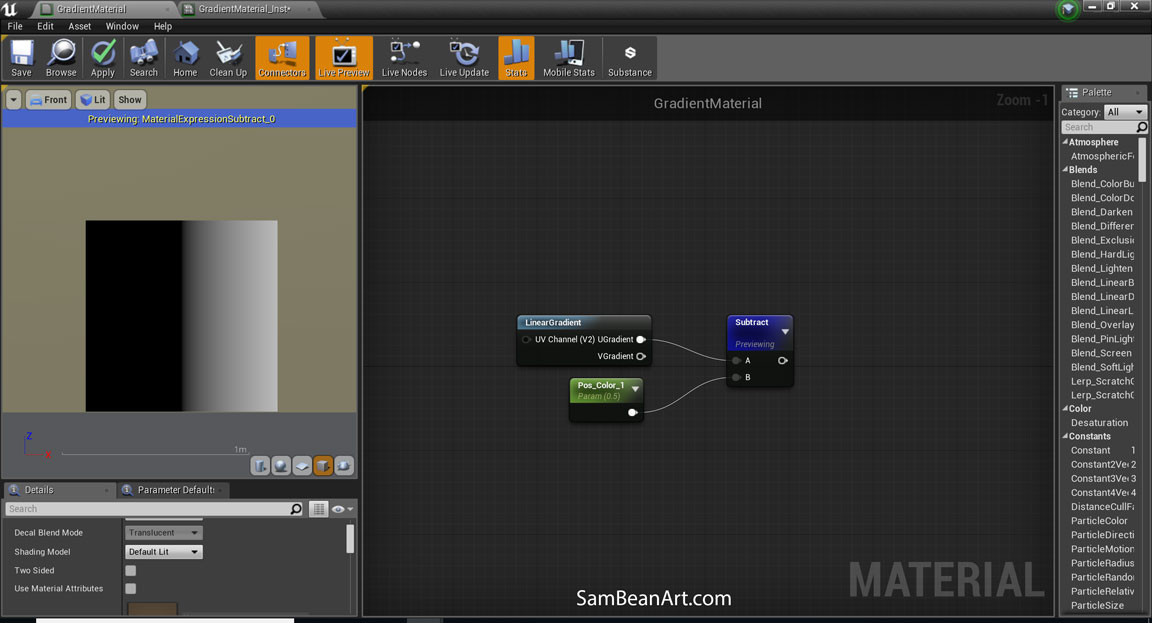
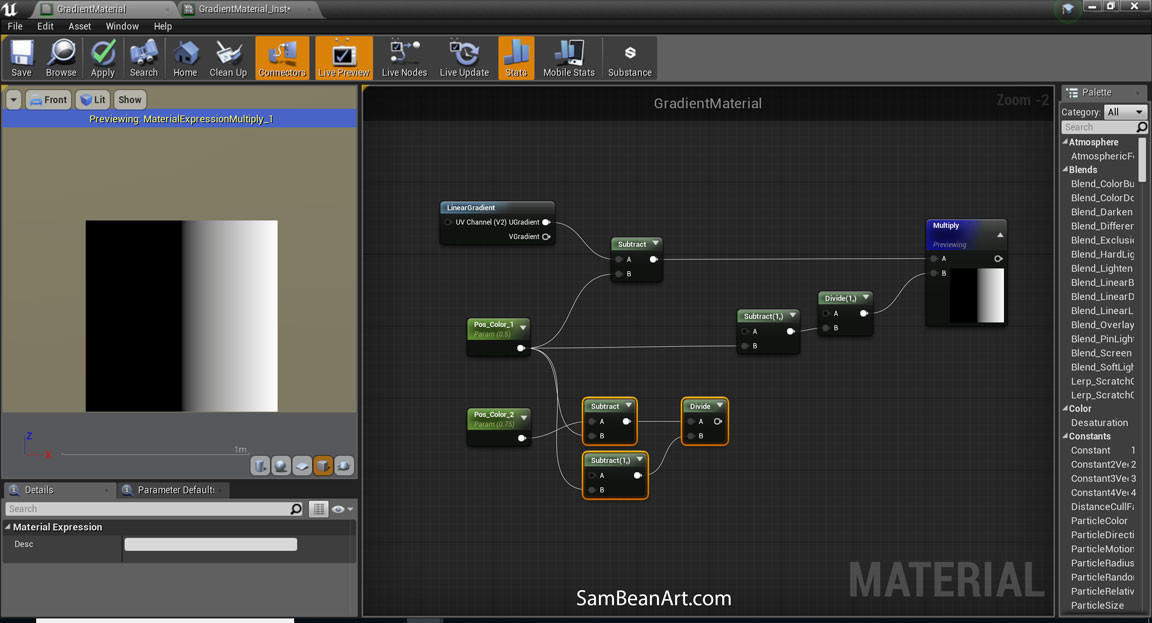
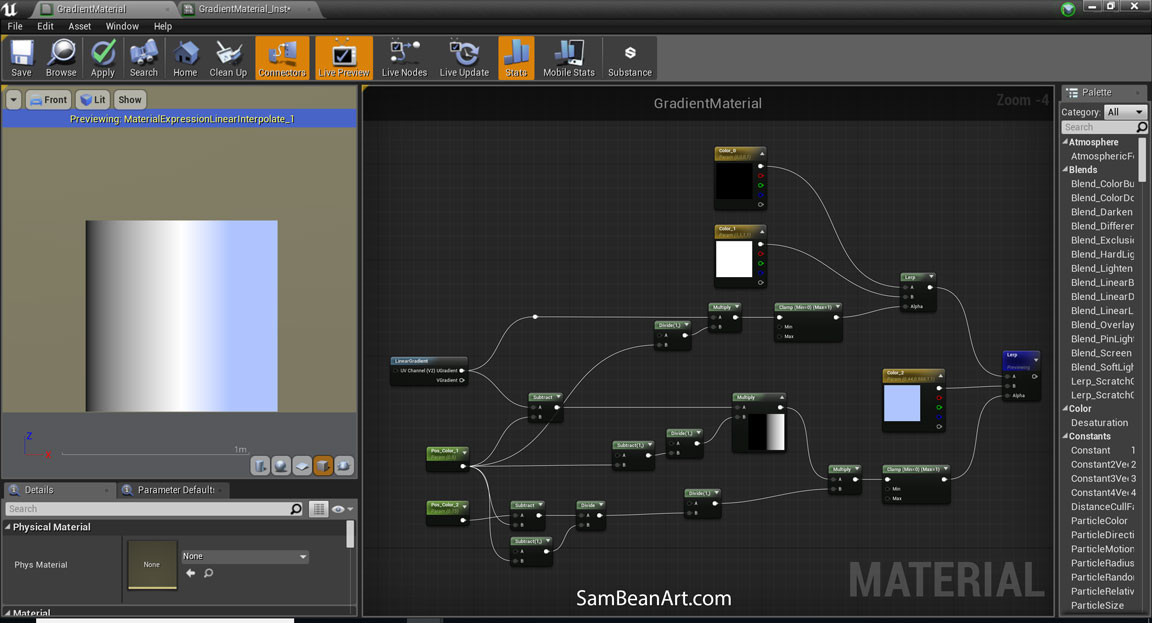
Changing Attributes - Color

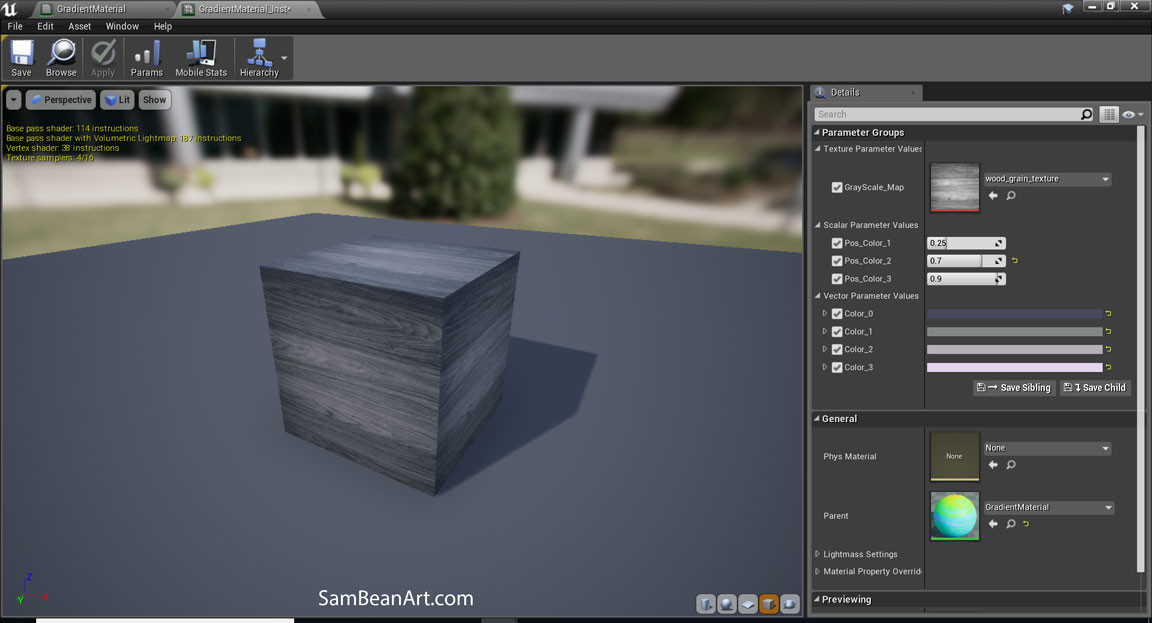
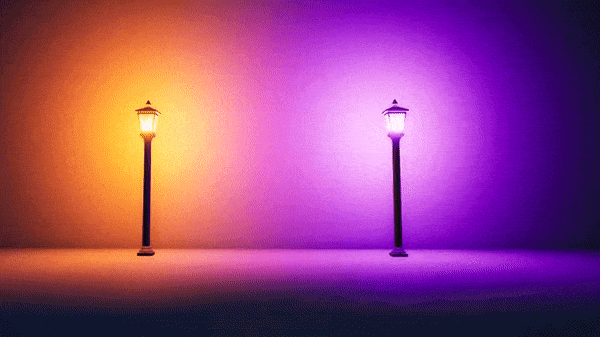
Back to making stuff - So I've made a blueprint that combines a spotlight, pointlight, and geo so I can easily move these assets together. What if I want to change the intensity or color of the light? If I change the light color, my prop's emissive texture will no longer match. I could go back and change my emissive material by hand every time I change my light . . .  but that would suck. And, if the light-fixture is sometimes red and sometimes blue, suddenly I need two material instances, and if I decide to add green, yellow, and purple lights . . . you get the picture. That's a lot of assets to manage.


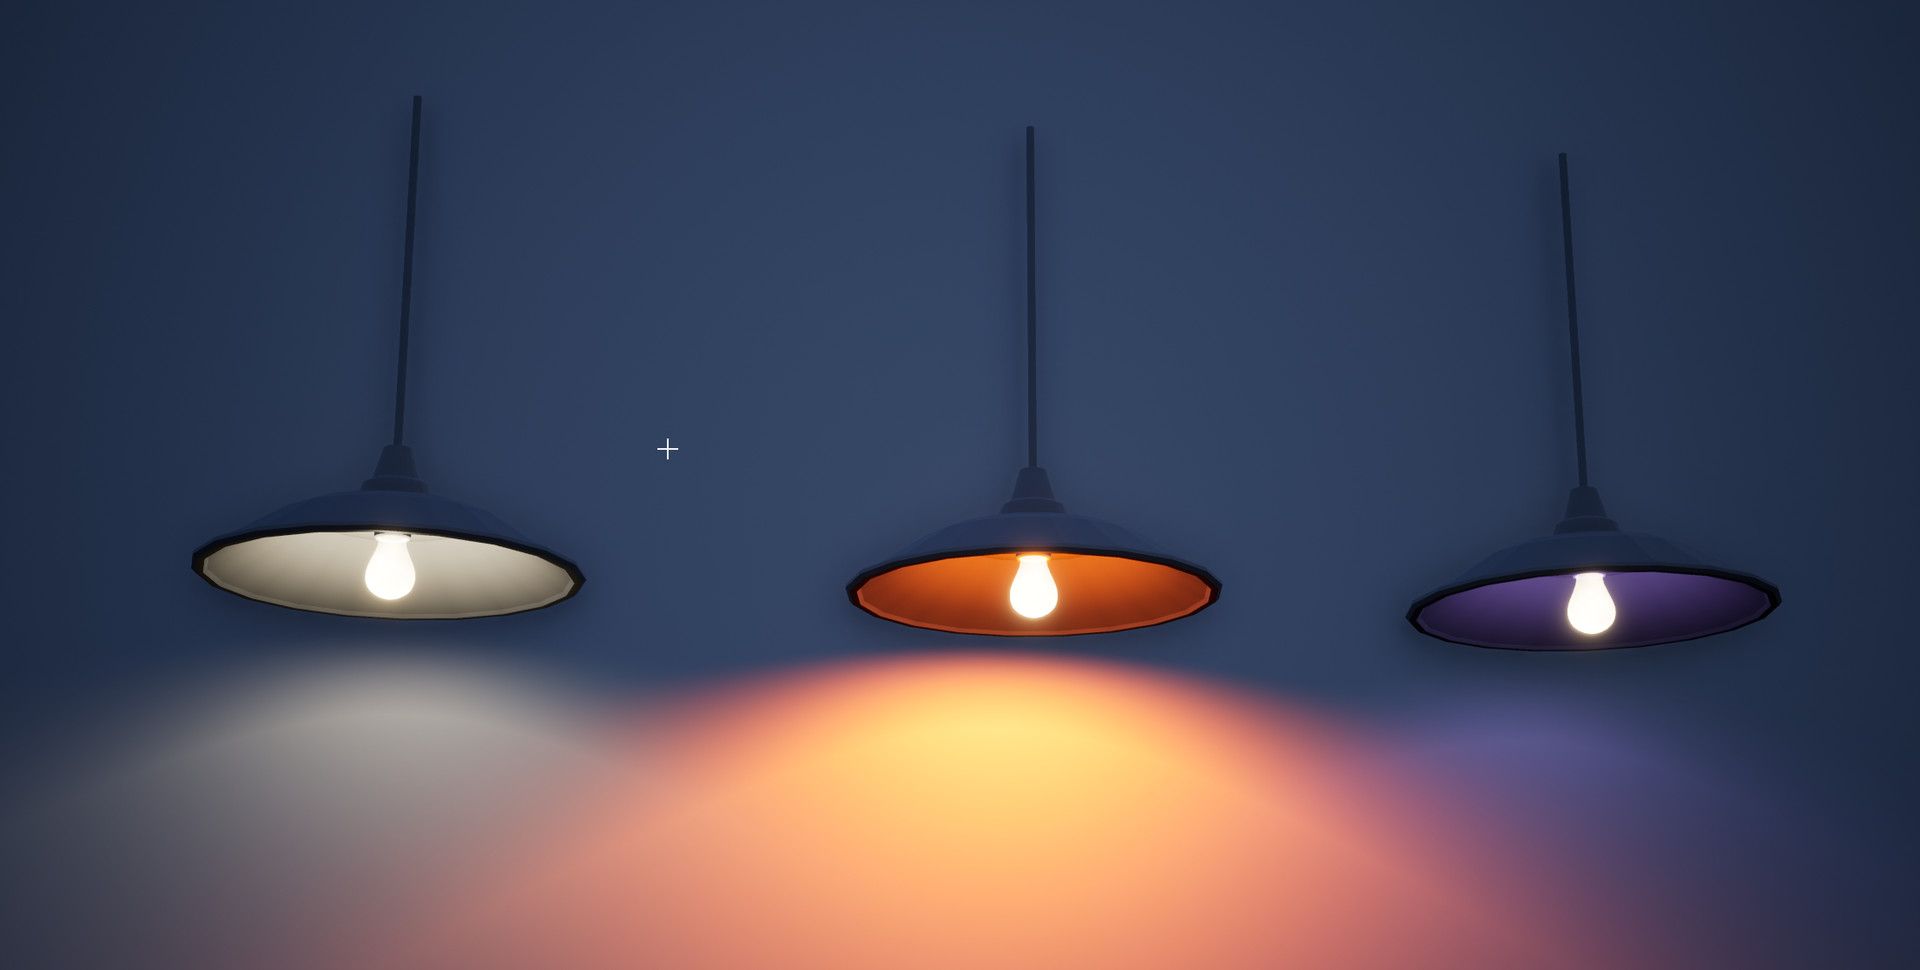
The emissive is exactly the same, regardless of light color/intensity

Here's where blueprint coding is really useful. I can control the color and intensity of my light, and the color and intensity of my emissive at the same time with a single attribute. That way they're always in sync.


GIF: Notice how the light and emissive color change simultaneously by adjusting a single color parameter.


Changing Attributes: Animating Intensity

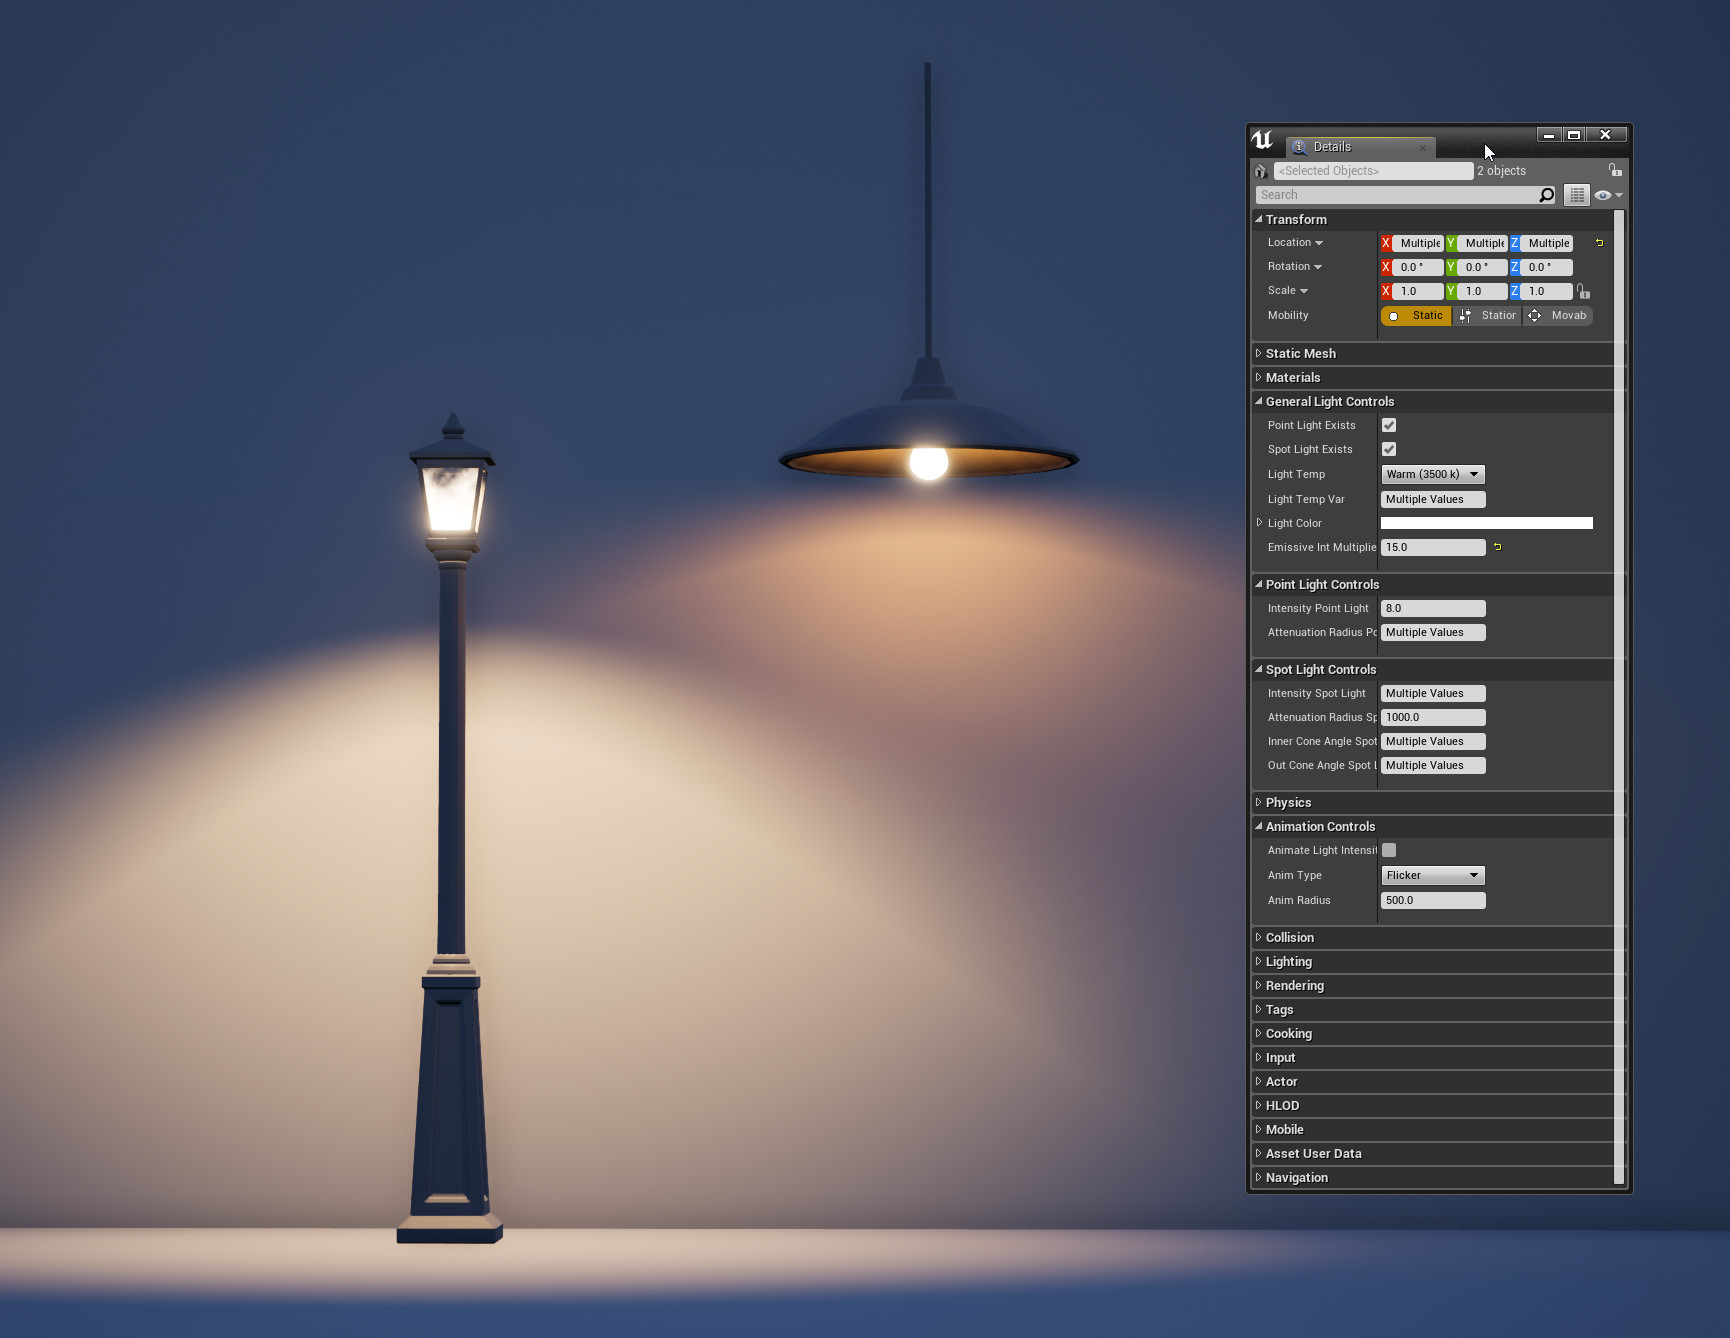
Blueprints can also be used to animate certain parameters. The most obvious thing to do with lights is create a light flicker.  For this blueprint I've created two light animations - a flicker (Left) and a sin wave (Right). These animations range in value from 0-2, with 1 as my baseline, and they get multiplied with the lights intensity - so if my light intensity is 8 or 5000, it works consistently.  

For optimization - the animations only trigger when the player is within a certain distance of the light-fixture blueprint. This distance can be adjusted per instance in editor, so you can easily increase or decrease the area of affect (the red, wireframe sphere is the area of affect of the animation).  This is done by spawning a sphere collision volume when animations are enabled. That sphere triggers the animations when it overlaps with the player, and stops the animations when the player stops overlapping.


GIF: Animations turn on and off as the player moves into range. 


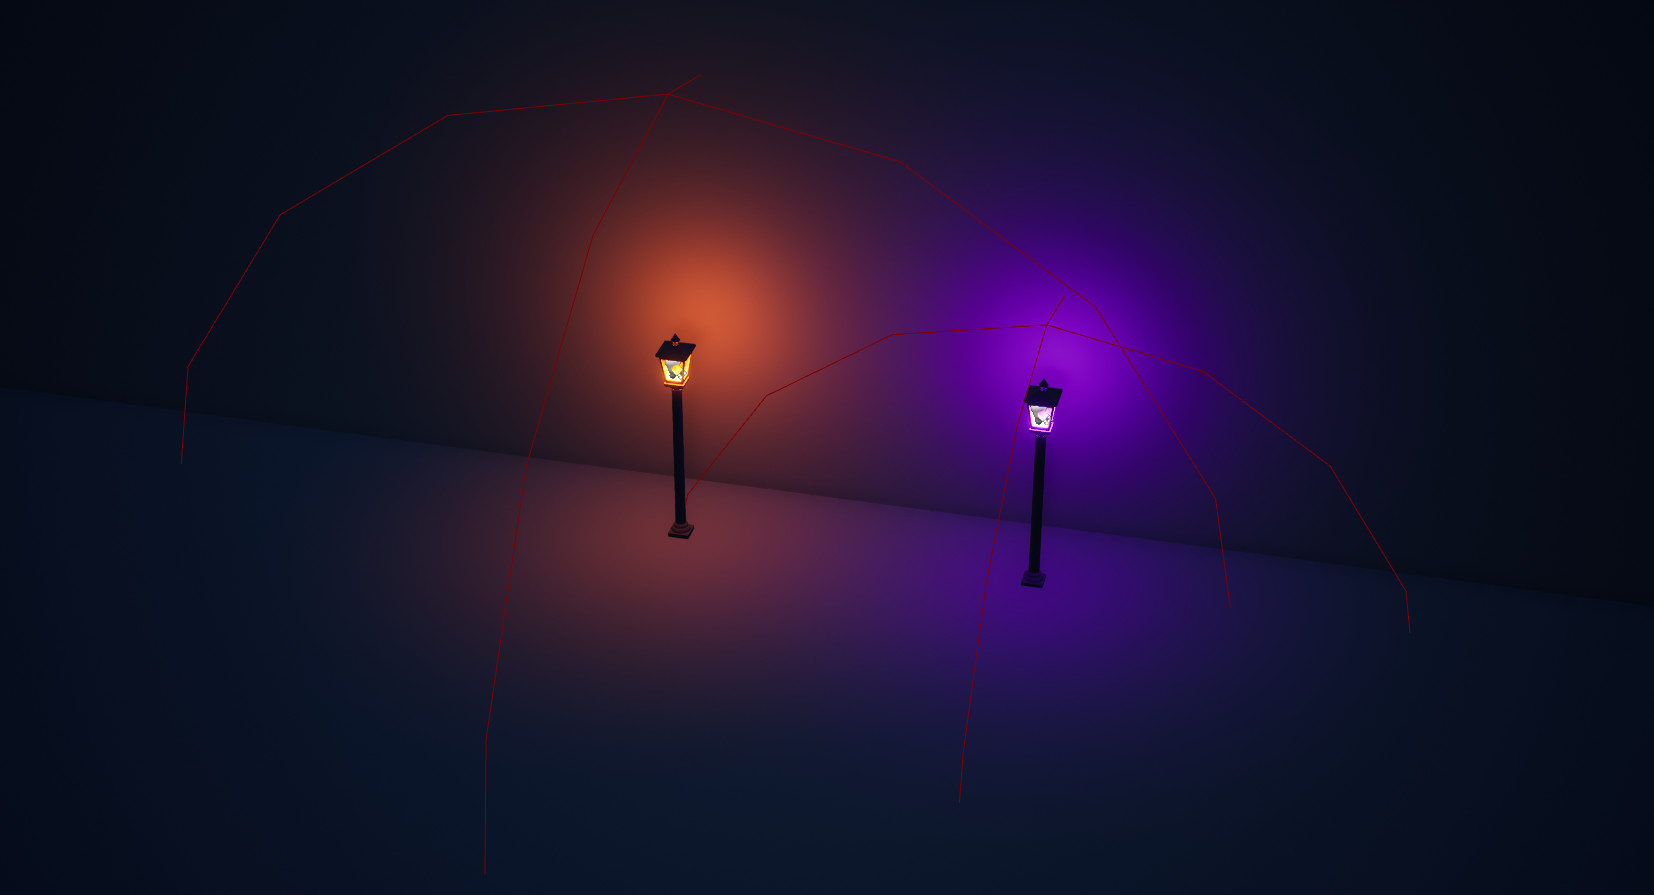
The Red Wireframe sphere is a collision volume that detects when the player overlaps it and triggers the animation. 

The orange light has a larger collision volume than the purple light and so activates when the player is further away.

The size of the sphere is set per instance.


Parent and Child Blueprints

These blueprint assets are created from the same Blueprint Parent. This is similar to working with a master material and material instances. The parent blueprint defines all the code and parameters. So if I decide to add more animations or change the way my blueprint works, I can make changes to the parent blueprint, and all the children will inherit these changes (this is a life saver!). This also means that every light-fixture that I have has the same parameters, the same set of animations, and works the same way, they just have different geometry and different materials. This keeps my workflow consistent and makes everything much easier to work with. 


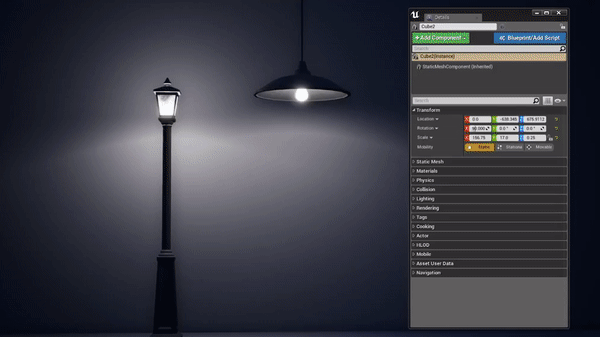
GIF: These two assets share the same parameters (from their parent blueprint) so I can select both and update them at the same time.


But I don't want to make a light-fixture that can change color and animate, what can I use Blueprints for?

Blueprints aren't really tied to a specific type of asset. It's just a way to tell the computer to do a set of instructions, so you can use it for all sorts of different things, in the same way that you can use code to do all kinds of things (since really blueprint is code that easier to work with for non-programmers). If you have multiple attributes that you would like to control with a single parameter, Blueprints could be a good option. If you want to automate some of your workflow (i.e. scattering props for set dressing, randomizing color or position, etc.) Blueprints could be good at that too. And if you want to create changes in your environments based on game play (i.e. the player smashes the ground and the props nearby shake) Blueprints can help with that too. You could make a full on game with blueprints if you wanted to. There's lots of possibilities, you just have to start exploring and I'm sure you'll find cool things you'd like to do.


Why are you using Unreal?

I use Unreal as an example because it's accessible, free, and it has great tutorials (so if you're interested in this it's easy for you to find resources to help you). Unity is another good option, I just personally prefer Unreal. 

I actually first worked with visual scripting in a proprietary engine from Disney's Avalanche Game studio (now closed). I saw how impactful it was for our environment team to have access to code in this way. That's why I love engine's with this capability, it opened up a lot of possibilities for adding life and interactivity to our environments, without needing to bother our programs for everything.  

The great thing is, if you know how to use visual scripting in one engine, it'll feel really familiar and easy to pick up if you move to another engine. If you've worked with Substance Designer before, the concept of visual, node-based workflows will probably already feel familiar to you.


For more information on Blueprints I recommend checking out Unreal's Tutorials:

https://academy.unrealengine.com/Class/blueprint-essential-concepts

If you want a jump start to making this kind of light blueprint, you can get a copy of it here:

https://www.artstation.com/samanthabean/store

Thanks for reading!

- Sam

Report

Unreal Engine Gradient Mapper Material

General / 07 August 2018

The Search for a Gradient Mapper Material


I've been looking for a gradient mapper node in the Unreal Material editor for awhile. Something I could use to easily remap colors to a greyscale image, so I can quickly set up lots of material instance variations on the fly in engine. I haven't had any luck finding one and had kind of given up on it, until our tech artist Ryan Lewis sent me this awesome article from Andrew Maximov on dropping albedo maps in favor of a greyscale texture with a gradient ramp. Then Ryan did some code magic to make a gradient mapper for work - which was great. That made me want one for home, and since I don't know code, I restarted my gradient mapper search. I found this post by Ryan James Smith about using your UV coordinates to pick between a series of gradient ramps that you've created in another program, such as Photoshop.  This method is cool - but it still requires you go to an external program to create your gradients, and that makes tuning annoying because you have to jump back and forth between programs, tweaking bit by bit.

That got me thinking more and after a lot of scribbling and some simple math, I found a way to recreate a gradient mapper purely in the Unreal Material Editor!


So . . . how do you build a gradient mapper in Unreal's material editor? 


Let's break it down -  the first thing to keep in mind is a texture is really just a bunch of numbers between 0 and 1 (or 0 to 255 RGB, but in Unreal, we're working with 0 to 1 values, which makes the math a lot easier). Since it's just numbers that means you can apply any math equations to your image and it works just like regular math. You know the multiply blend mode in Photoshop? That's actually straight up multiplying the pixels (or the number value of the pixels) between two layers together. This simple idea opens up a world of possibilities for materials. So a texture is just numbers and you want to take a grayscale texture (aka a bunch of numbers between 0 and 1), and remap that grayscale image to a set of colors. You can do this by making your grayscale texture into an alpha for each color you specify. That way you can blend between the different colors using Linear Interpolate (Lerp) nodes and plugging in your adjusted grayscale texture as the alpha. How do you do that make your grayscale image a useful alpha? By changing where your grayscale texture is white and where it is black.

For each color you'll have to set:
1) the White Point of your alpha
2) the Black Point of your alpha

Set the White Point of your Alpha


I'll be using a linear gradient node as my texture, in the end you can replace this with a grayscale texture and it works just the same.
So here I have two vector parameters blending together based on the linear gradient. I want to adjust the position of the white point to some value between 0 and 1. The White point defines the position where Color_1 will reach full value (since this is the alpha we're controlling)


That means at whatever position I set the white point to, I need to multiply that value by some number to make it equal 1 at that position - to make that position my new White Point.

If White Point (WP aka Position of Color) = 0.25   ->   0.25 * x = 1,  x = 1 / 0.25  SO to make my grayscale texture white (aka 1) at WP I just multiply my texture by 1 / WP

Pos_Color_1 = parameter for White Point of Color 1's alpha


After multiplying, clamp the values so your alpha only goes from 0-1, otherwise you can get some crazy colors. In the image above Pos_Color_1 = 1, so nothing about your gradient changes. But if we change Pos_Color_1 to 0.5, you can see the affect to our alpha in action. See how now value 0.5 and up of your gradient has been remapped to a value of 1.


That takes care of the White Point. What about the Black Point?

If we add another color, then the alpha for that color will need any value less than the previous white point to be black, so that each new color only blends with the color next to it, not all other colors in your gradient map.

Lets look at our gradient again:


So if our previous Pos_Color was 0.5, then every value 0.5 and lower should be less than or equal to zero. How do we make every value below 0.5 <= 0? By subtracting 0.5.  To keep this flexible - instead of subtracting a hard coded number - we take our grayscale texture and subtract the previous Pos_Color parameter from it.


That makes everything at a value of 0.5 or below less than or equal to zero, but it also brings down all our other values, as you can see now the ramp only goes up to 0.5 instead of 1.


So we have to take our linear gradient and multiply by 1 /  (1 - Pos_Color_1) to get our full gradient range back again.

Now we've set our second color's black point, we just have to set the white point.  We add a new parameter to set the value of Pos_Color_2 at a value between 0 and 1. We have to do some math to convert this value from a percentage of 0-1 to a percentage of the new black to white range defined by our first color (in this image 0.5 - 1).


Then we do the same math we did for the first color to define the white point - take our new gradient from Pos_Color_1 to 1, and multiply it by the inverse of Pos_Color_2.


And now you can string those two lerps together.


And use the same math to add more colors and color blend positions.


  Then swap the gradient node for the channel of a texture parameter.. Here I'm using the red channel of a wood grain texture.


Now whenever you create a material instance, you can access all the parameters of your gradient mapper, to adjust the colors and blend positions.


And easily create texture variations in engine, without needing to make a series of gradient ramps in Photoshop, or needing to bake out individual textures from Substance. It may not be the most efficient, but it's certainly convenient! You could also use this workflow to create a levels node.


Thanks for reading!

And Thank you to Epic for building an engine that gives access to material parameters like this!

- Sam
  

Report

Color Calibration

General / 07 August 2018

Why Color Calibrate?


Is color calibration important? Film studios are used to working with calibrated screens, but not all games studios do, and we're not always sure why to calibrate.  As an artist, working with calibrated screens helps protect you from running in circles adjusting and readjusting to different monitor's color settings.

For example, let's say you're working in a studio with no calibrated screens.  You're lighting an environment (this comes up with texturing characters and environments as well, but is especially obvious with lighting when you're setting the black levels for the game).  You have your real world reference, and you think you've matched that pretty well. You have some nice contrast and areas of light and dark, and you've run around in game to make sure everything is still readable for gameplay.  So you send the level over to your art director for review. They let you know some areas are too dark, and they'd like the color palette shifted a little cooler. Now here's the problem - you don't know if this feedback is purely art direction (which is good) or if this is just compensating for the differences between your and your art director's screen.  Maybe their screen is really high contrast with crushed blacks, so they'll naturally make things brighter to compensate, maybe your screen is really saturated, so you'll be making things less saturated.


And this is a best case scenario - assuming that you're only getting review notes from one person. Over time you'll learn to compensate. You'll make you're scene lighter or darker, more or less saturated, depending on the feedback you've been receiving.  But you rarely ever receive feedback from just one person. 


A normal studio with a decent sized production may look more like this: On Monday, your AD plays the level on his monitor (which is too bright) and asks you to drop the shadows to get contrast back in the scene. You do, then on Tuesday QA plays the build (on screens that are too dark) and let you know they can't see the gameplay, so you brighten the scene back up a little bit. Then on Wednesday there's an exec review on the crappy TV in the meeting room, which is super dark and saturated, and now you really have to brighten things. And then the whole loop starts all over again.

On top of this, usually you won't know exactly where this feedback is coming from - or what screens were used. So you'll spend a portion of your time just tracking down who was playing the game where, so you can check the values on that specific screen for yourself. Otherwise you're really shooting in the dark, trying to guess what everyone else is seeing. An art director or lead can mitigate this (i.e. that feedback was from this meeting room with the shitty screen, don't worry about it) but then while you're not losing as much time chasing rogue feedback, they are, which still isn't great.


But wait, I hear you thinking, when we ship our game most of our player's won't have calibrated screens. If we calibrate our screens, aren't we seeing the game in a way that most people never will? Isn't it better to have all these different colors and brightness levels to our screens, since then we get an average of what real players will experience?

This is an important point - unfortunately there are thousands of ways your players' screens could be calibrated - slightly bluer, darker, brighter, saturated, etc. No matter what you do, you'll be making some screens better and others worse. If someone really wants to play your game exactly the way you want it to be viewed, they will calibrate their screens, or even have a professional calibrate their stuff. Most people won't. Some may even prefer poorly calibrated screens - like the TVs in stores that have their saturation cranked like crazy. That's out of your hands, they have a right to chose how they want to view media.


The most you can do is ask you player to calibrate at the beginning of the game. If you've ever started a game and, before you play, an image and a slider pops up and they ask you to adjust until the image is just visible - this is you adjusting your luminance.  And even with this your player could choose to set the scene overly bright or dark, depending on their preference.


You do have control over how your game is viewed at conventions and expos though - which is why you should work with calibrated screens in studio, and you should have a calibrated screen when showing your game.

And you can still get a feel for how your game will show on different uncalibrated TVs and monitors. But they shouldn't be randomly placed throughout the studio. You should have a few different screens, all beside each other so you get a real picture of how they compare. 

There's enough conflicting feedback within a studio, without adding in the additional confusion of different screen settings. Calibrate your screens, it will save you time and minimize your art team running around in circles.


Thank you for reading!

- Sam

Report